MR4DevOps Embedded is installed successfully and VSIX file is created on desktop. Perform the following instructions to deploy TFS Extension:
Deploying TFS Extension using VSIX file on Desktop
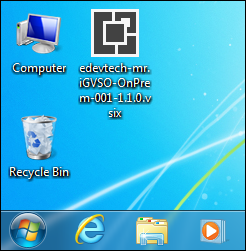
Go to your system’s desktop and find the VSIX file generated through installer
-
Log into your TFS.
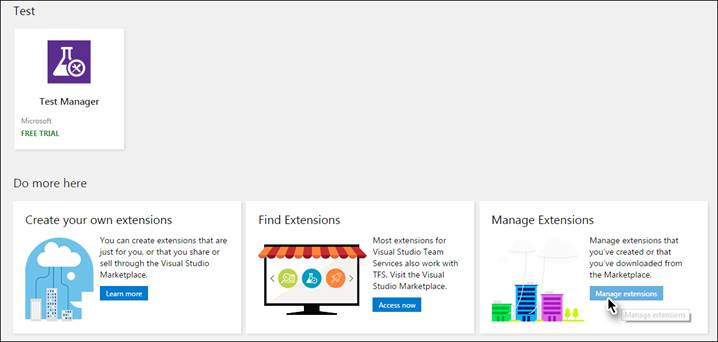
- Click the Marketplace icon and then select the Manage extensions option from the drop-down menu.
- Click the Browse local extensions link.
- Click Manage extensions link.
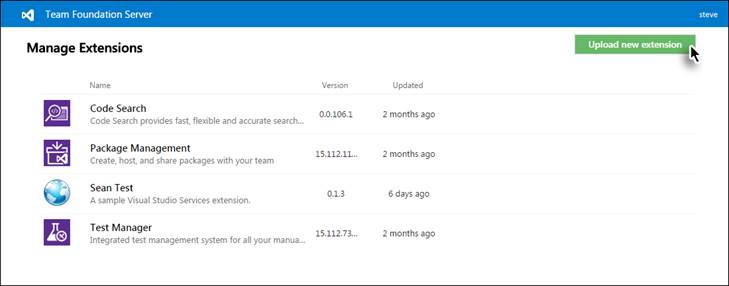
- Click Upload new extensions link.
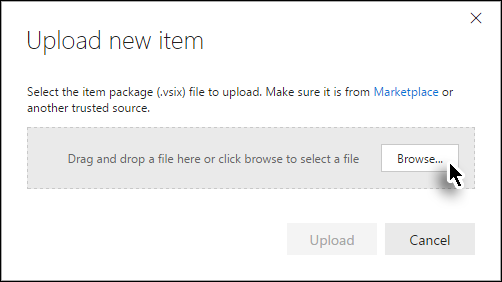
- Click the Browse… button.
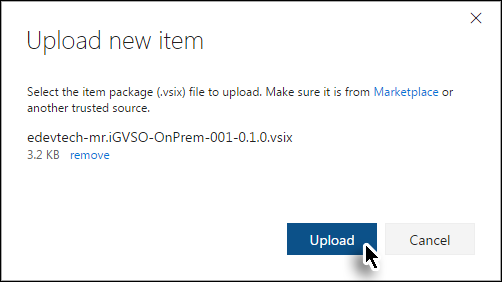
- Navigate and select the relevant VSIX file (created at the end of the installation in the last section).
- Click Upload.
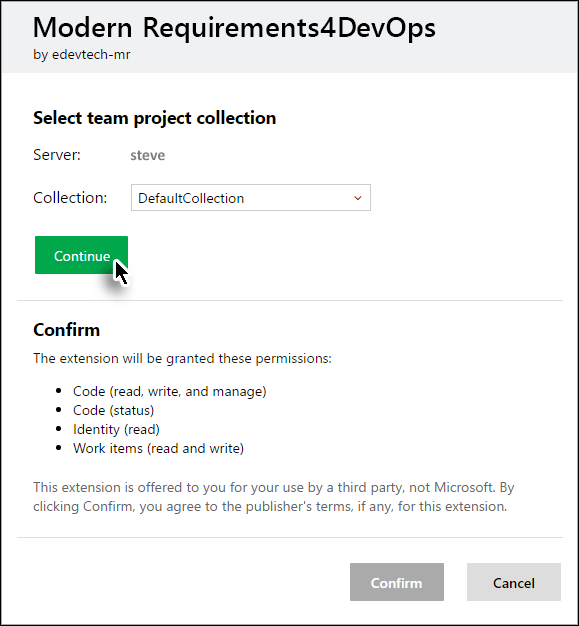
- Select the desired collection and click Continue.
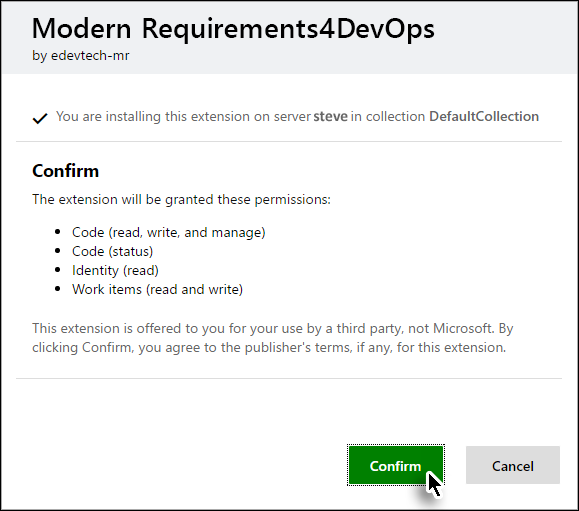
- Click Confirm.


OR
In case Modern Requirements4DevOps extension already exists and needs to be updated then:
Right click on the Modern Requirements4DevOps extension → select Update… option.
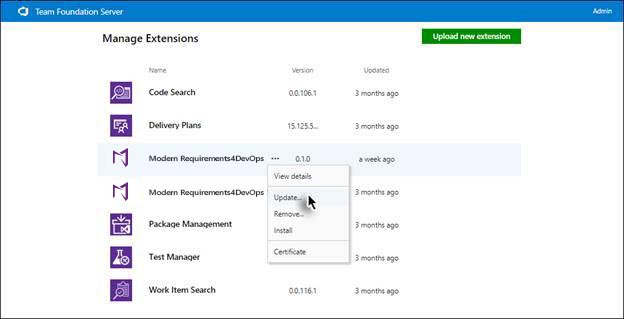
This would update the Modern Requirements4DevOps extension in all TFS collections simultaneously, without the need to update each one individually by the user.
For new installations continue with step # 6.
The Modern Requirements4DevOps Embed options become accessible through the Work tab.

In case user can’t find VSIX file
In case a user does not find the VSIX, following deployment Instructions are to be followed, to create and deploy TFS Extension
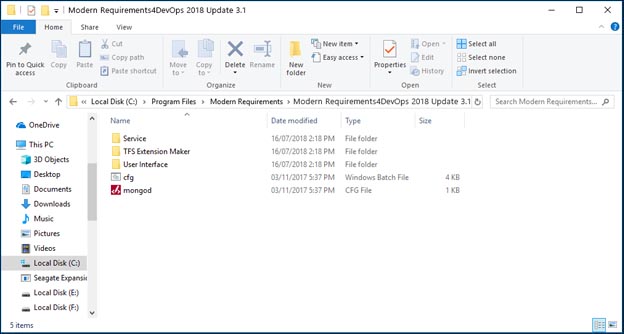
- Go to the installation folder of Modern Requirements4DevOps e.g. C:\Program Files (x86)\Modern Requirements\Modern Requirements4DevOps 2018 Update 3.1
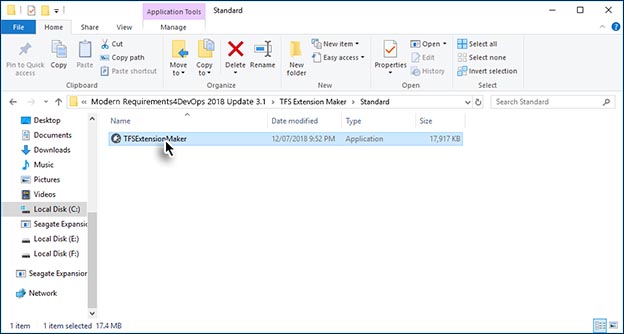
- Further navigate inside TFS Extension Maker folder.
- Navigate inside the folder (whichever is present in the TFS Extension Maker folder) and double-click the file “TFSExtensionMaker.exe”
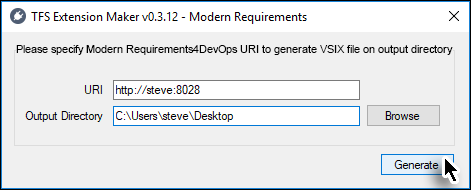
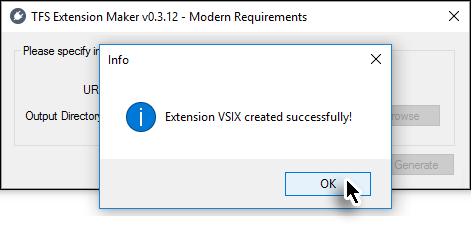
- Provide required information: (i.e. URI and Output folder) and click the Generate button.
- Click OK button to close the confirmation message box.
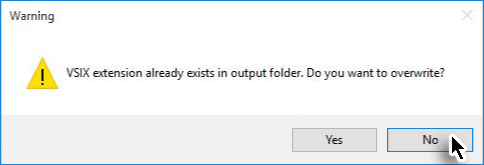
- Click No button to close the warning box.
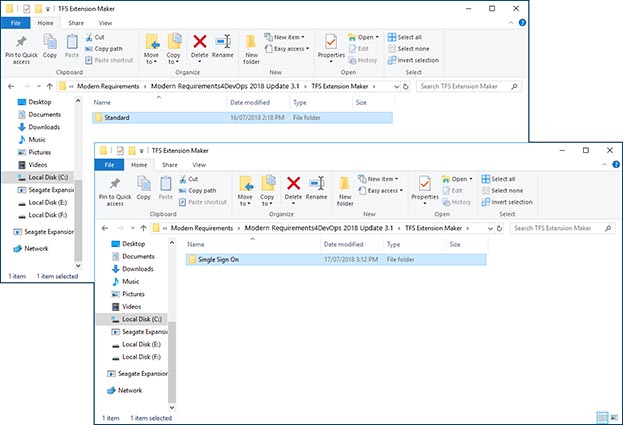
Depending upon the selected type of installation; there would a folder named:
- Standard (for standard installation)
OR
- Single Sign On (for Single Sign On installation)
VSIX file will be generated at the desired location.
VSIX overwrite warning appears.
Refer to point # 2 (in Deploying TFS Extension using VSIX file on Desktop section) onwards to deploy TFS Extension